I did my market research first. GW terrain is nice - but pricey. The 40k ruins are perfect for both 40k and Malifaux, but I wasn't too thrilled about the 50-80 euro price-tag for the set. Ebay turned up some good results for a modest price, but also modest quality. Eventually I came to the conclusion that, if you want something done, always choose the cheapest option. Which meant make it myself. Luckily having just moved, there was (and still is) a lot of strong corrugated cardboard boxes lying around as well as some religious newspapers some nuns optimistically put through the door. At work the next day I scrounged a small box an order had come in, some drinking straws, some strong thin card from washing-up liquid refills (the same quality and quantity of card in the art shop would have put me back some 3-5 odd euro) and a large tin tomato can from the restaurant upstairs. I had superglue at home, but picked up some more as well as some masking tape and polyfilla (see previous post about the glues lack of chloroform) at the nearest 2euro shop. So far my list of ingredients were;
- Thick corrugated cardboard
- Thin cardboard
- Small box
- Superglue
- Tin can
- Straws
- Masking tape
- Pollyfilla
 |
- Paperclips.

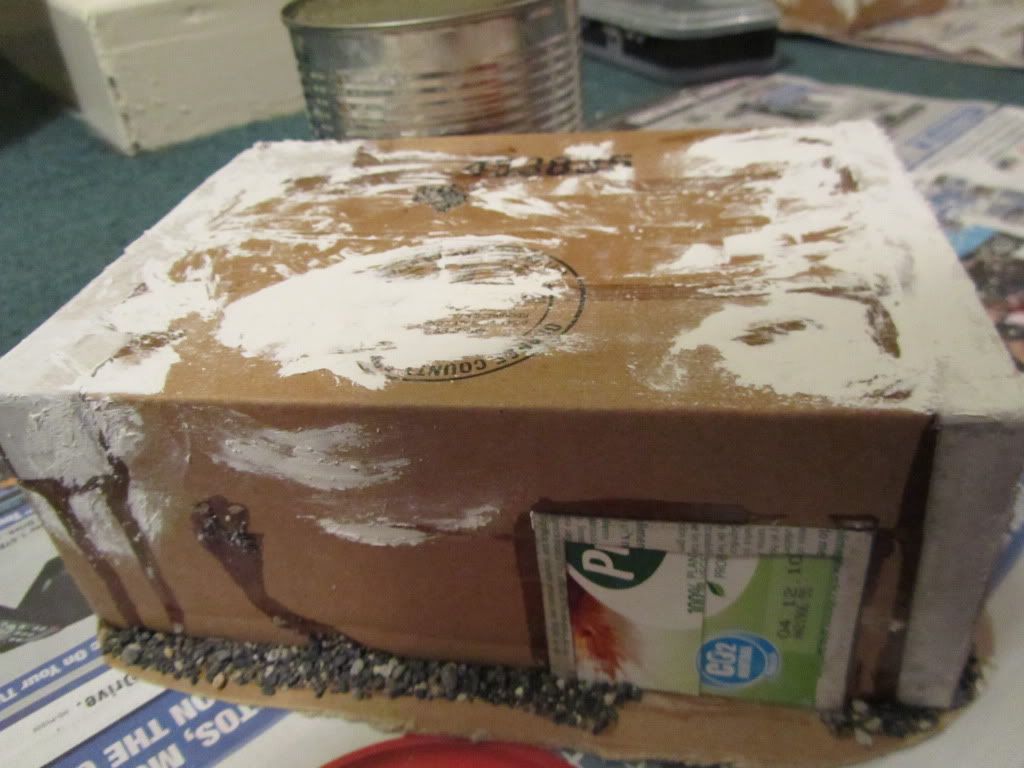
You might notice I've made no mention of measurements, and that is because... I didn't make any. Everything by eye and so far it's been working just fine. My advice to anyone new to making terrain, but too lazy to measure, is to keep some models to hand so you can check and make sure doors are large enough, does my Rhino fit under there, will my master/terminator's base fit on that ledge etc. Using pre-made shapes like boxes also helps as they're designed to be square.
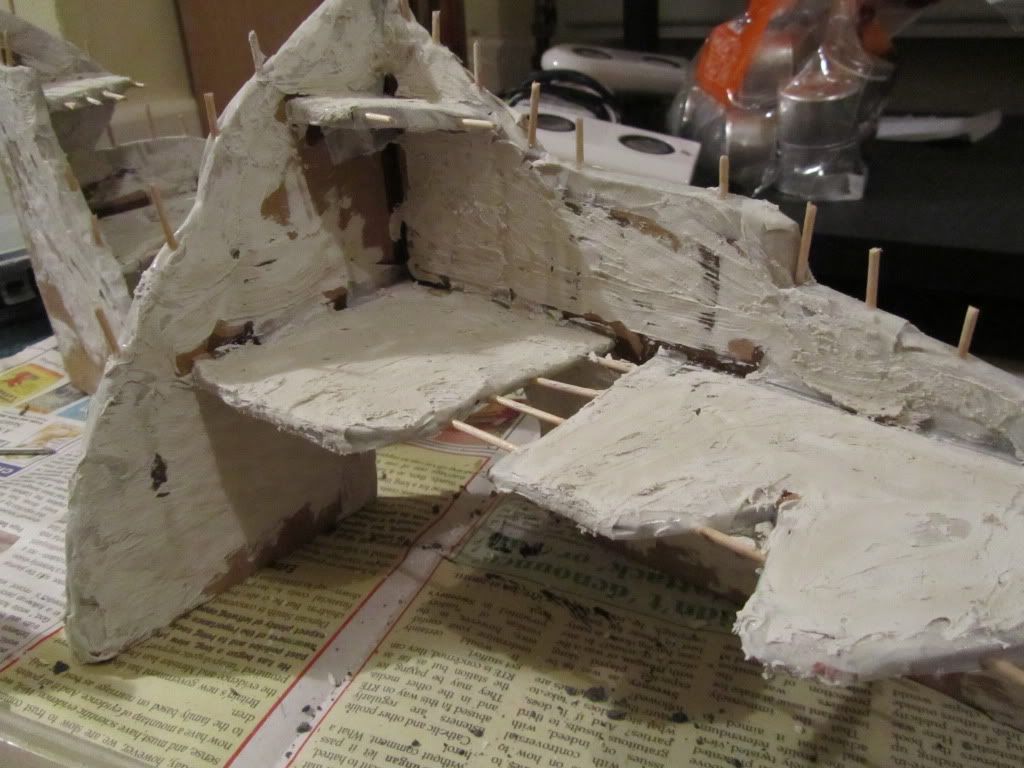
Feeling mightily pleased with myself for making a serviceable factory, I decided to try my hand at making some ruins. Have you all played Fallout 3? If not, do. Awesome game with lots of nice ruins. So nice in fact that I decided to base mine (roughly) on theirs.
To start off I took a long strip of corrugated cardboard, then arbitrarily folded it in half with the "grain" of the cardboard running vertically. Taking up my trusty kitchen scissors I hacked an irregular ruin shape making sure the point formed at the top of the fold (I know this isn't totally clear so just look at the pictures, OK?). To make the remains of floors I took the offcuts from making the walls and used a pen to mark more or less what height I wanted them to be, and more or less how far out they'd stick out. Again, scissors to hack a nice ruined shape, and again, kept models nearby the make sure I didn't get over zealous and hack off so much it was useless. After much swearing I managed to get the walls to stay in a right angle and fixed the floors on with masking tape and glue. To cover the ends of the cardboard I used more masking tape and glue (seems like I didn't use anything else huh).
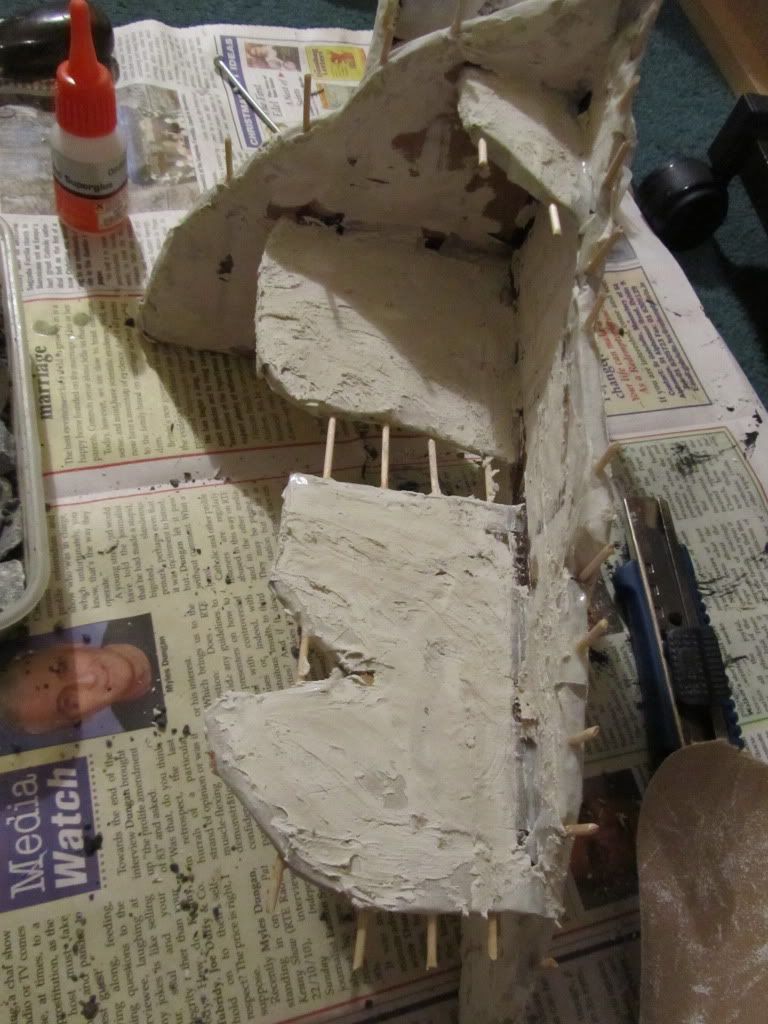
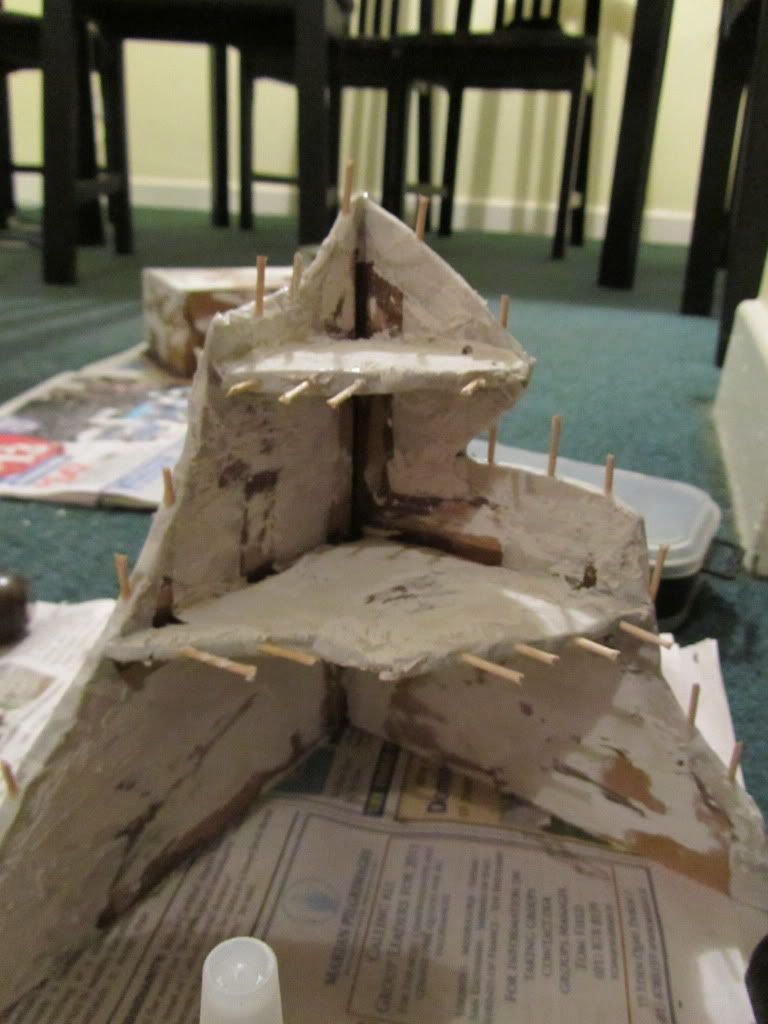
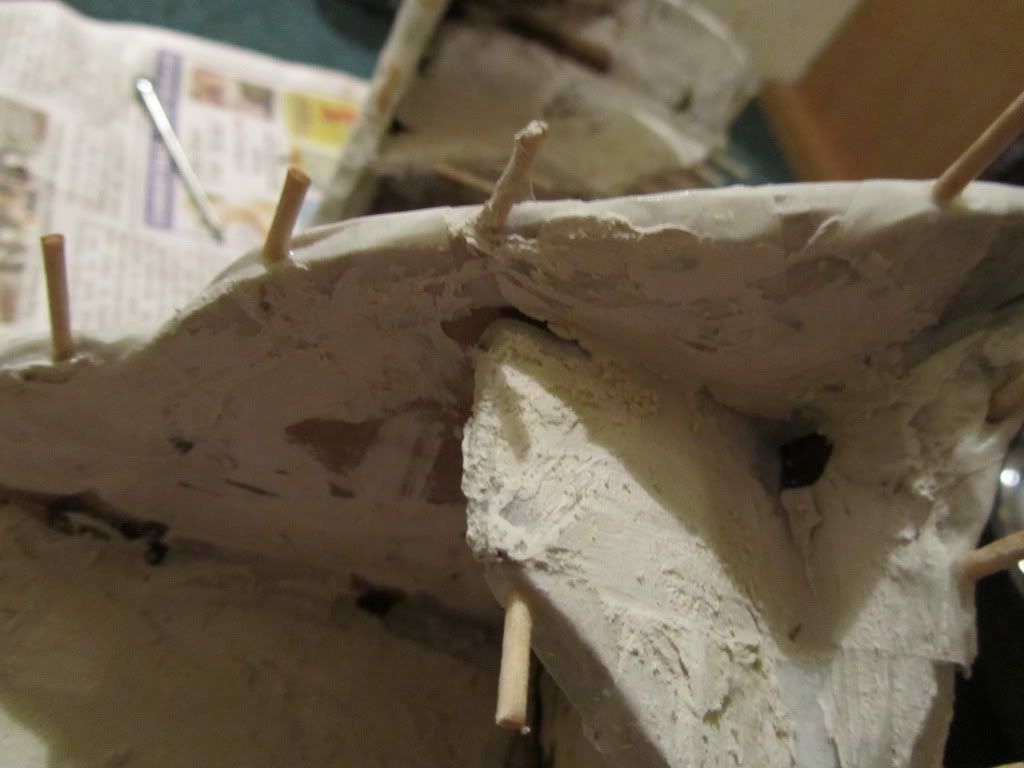
Now for the clever part. To create the appearance of broken support beams and girders in my ruins, I cut in half some cocktail sticks and poked them through the ends of the cardboard in the direction of the corrugation and secured them with, you guessed it, superglue. The ruins then got a coating of polyfilla same as the factory.
Add ingredient;
- Cocktail sticks
About this time I started to notice a design flaw in my ruins. Since I want them to be free standing they were top heavy - but built of light materials, and I don't know about you, but I'll be damned if one of my models is going to fall onto the table, or worse, the floor, to be damaged because someone sneezed during a game. That would make me a sad panda.
Again I ended up in the local 2euro shop, and came home with a pack of nails which I stuck into the bottom (giggidy) of the ruins and glued to add weight. So far it seems to have done the trick.
I am a genius.
photos courtesy of the very lovely Anna Soares
I am very lovely indeed! Though every time you wrote polyfilla I read pedophilia. Guess I'm hanging out with you guys waaaaay too much...
ReplyDelete